Basics
 Units are the central elements of the 3spin Learning platform. They contain your learning content in the form of assets. You can configure these assets with interaction and logic. Also, you can subdivide your content into different scenes in a didactically meaningful way. This makes it easy for you to design even complex learning content for an optimal learning experience and sustainable learning success.
Note on naming:
Units were called Trainings in previous versions. This name change may not yet be reflected in all Help Center articles. However, the knowledge described there also applies to Units.
The three types of units
The three types of units differ according to their output format. This defines the basic structure of a unit. For example, AR units do not need an environment because they take place in physical reality - VR and 360° units do. However, you can basically use all content and functions in all types of units.
| Type of Unit | 360° | VR | AR |
| Definition | Learning based on 360° images or videos | Learning in real-time 3D | Learning in the real world with augmented reality |
| Output device | Simple VR device | VR device for real-time 3D, e.g. HTC Vive, Meta Quest 2, Pico Neo 3 | AR device, e.g. Microsoft Hololens |
| Interaction | Controller | Controller | Hands |
| 360° image or 360° video | |||
| 3D environment | |||
| 2D images, videos, text | |||
| 3D objects |
|
||
| Sound |
Note that 360° units work on the basis of spherical panoramas – imagine spheres whose inside is covered with photos. Therefore, there is no physics there and objects can only be placed at a certain distance from the viewer, otherwise, there would be unwanted parallax effects (objects shift visually in front of the background due to head movement).
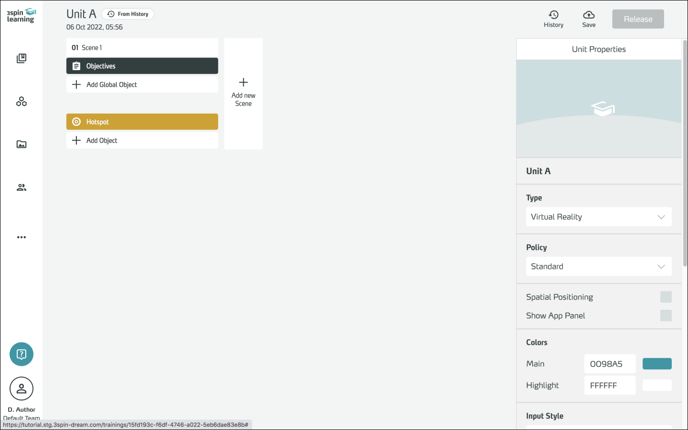
The draft system: drafts and releases of learning units
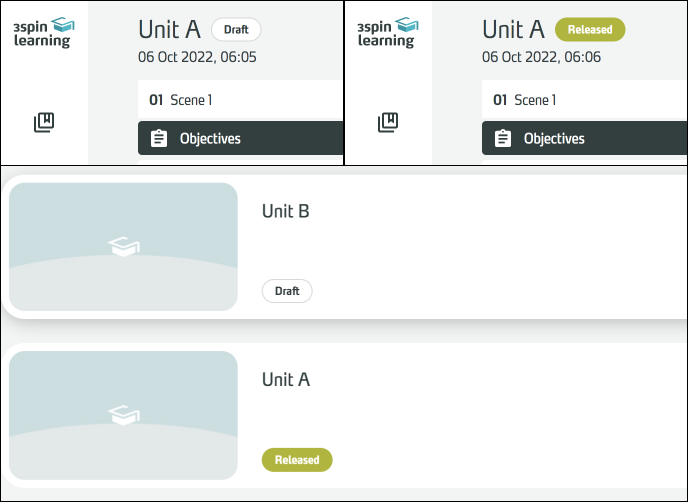
When you create or edit a unit, it is first saved as a draft. To use it in a course (to deliver it to your learners), it must be released.
The Draft or Release label indicates the status of a unit.
You can also continue to edit units that have already been published. This has no consequences for the courses that use this unit because only the last published version is displayed there. Only when you publish an edited unit again, this new version will be displayed in the courses.
So with this drafting system, you can easily develop your learning content until it's ready to be published, and then release the new version with one click. You don't need to make any further adjustments to the courses, as they automatically show the last released version of the units.
Pay attention to the performance of the devices!
Since the courses and units are distributed over the web and mostly rendered on mobile devices (Meta Quest or Microsoft HoloLens) with limited performance, your learning units should be as performant as possible. Units that take a long time to load or even cause a device to crash frustrate your users and affect the desired learning success. Mobile devices such as Meta Quest and HoloLens have very limited runtime memory. Excessive training overloads the device and can lead to crashes.
The following tips will help you to create your units in the best possible way:
- Large unit files cause a long loading time when starting the unit. To ensure a smooth learning experience, all objects are preloaded before the start. Especially the use of many global objects can increase this preloading time and delays the start.
- Large amounts of data for individual assets (movies or images with too high a resolution, 3D models with too many polygons or textures that are too large) and a large unit file can delay the download to the device and possibly causes it to crash.
- Use the most efficient and optimized assets possible.
- Audio files are best used in one of the compressed formats (MP3, AAC). WAV files are very large and should be used only in exceptional cases.
- For 360° images, it is better to use JPG than PNG. The resolution we recommend is 4k.
- Images (JPG or PNGs with transparency) should not be larger than 1024x1024 pixels for learning units for mobile devices such as Meta Quest and HoloLens. Positioned images can be scaled in the app. Without scaling, images are displayed with a resolution of 2048 px per meter (so an image with a width of 1024 px is displayed 50 cm wide). You can safely scale images larger. The pixelation can only be seen when you get really close to the image.
- For videos, the HD resolution is quite sufficient, often even the simple 720p resolution. The video objects can also be scaled.
- 3D objects can become complex very quickly. Please follow the guidelines for the creation of 3D assets. The number of polygons, textures and colliders are important parameters here.
Working with units
The following functions are available for working with units:
Create a new unit
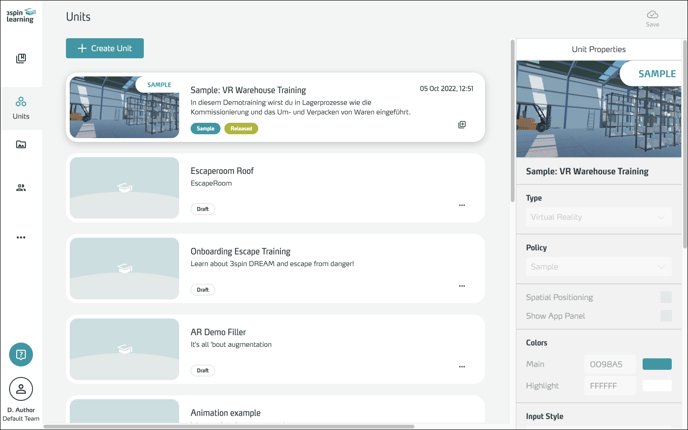
Click Create Unit at the top of the Unit overview.

In the following dialog, give the new unit a title and specify the type of unit.
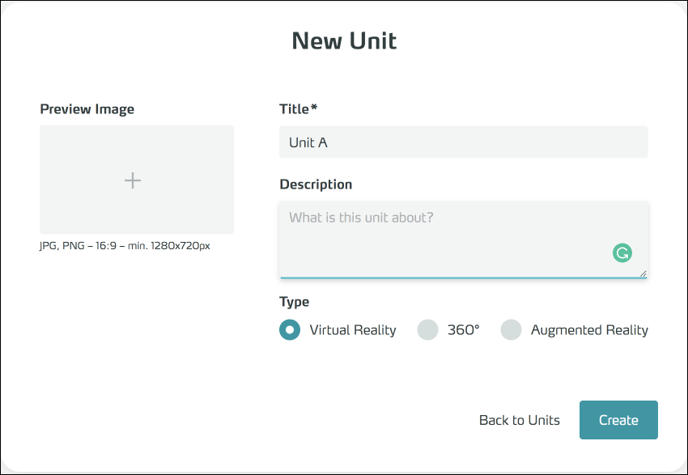
Optionally, you can also insert a preview image and a description here.
You can change all of these settings later when editing a unit.
Confirm with Create. Your unit is now created and you are in edit mode.
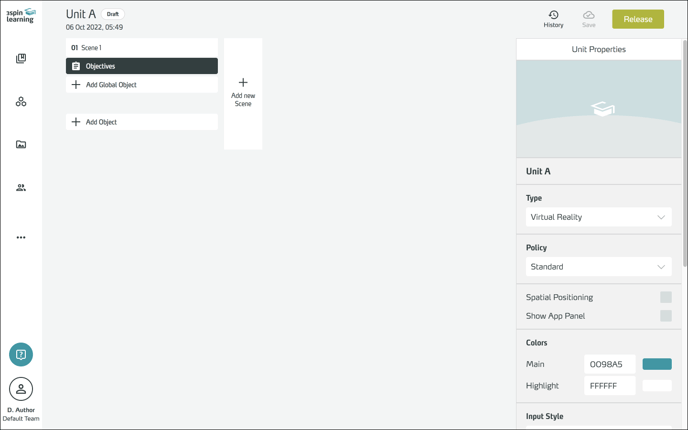
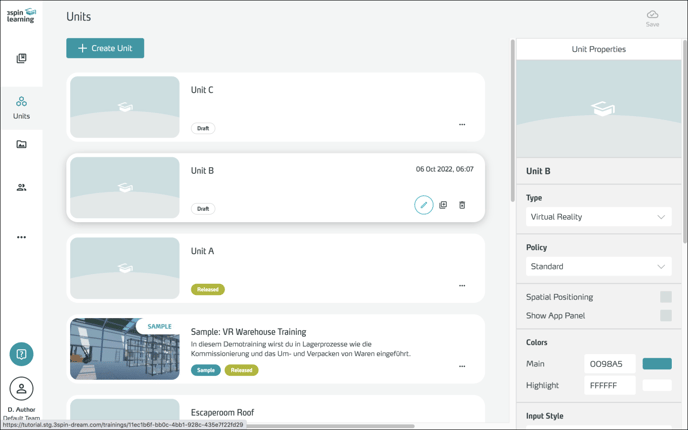
Edit the properties of a unit
Preview Image
To give your unit a preview image, click inside the image's area.
In the following dialogue, select an image file to upload to the server.
The image should have an aspect ratio of 16:9 and a width of at least 1280 px.
The preview image will be displayed in the unit overview in the WMS, as well as in the unit selection of the 3spin Learning App.
Name

To edit the name of a unit, click on the name field.
Enter the desired name and confirm with Okay.
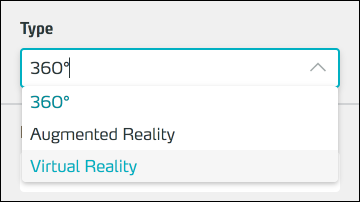
Type
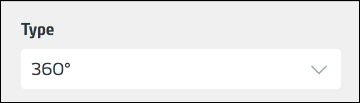
Select the desired type of unit from the Type dropdown.
Policy on the use of the unit
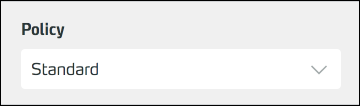
This setting is created for later expansion stages and is currently not yet active.
Settings
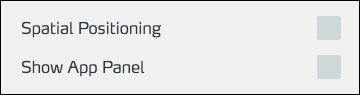
Spatial Positioning
With the Spatial Positioning option, you can specify that the virtual space of a unit is firmly anchored in the real-world space. For example, use this option for 360° units to specify an absolute "front" that applies across all scenes, regardless of the user's viewing direction when starting a new scene. Or for (smaller) VR units that take place in a real room (HTC Vive), where a user should walk around but not teleport.
Spatial Positioning is always enabled for AR units since they always take place in the real world.
To set the position of the virtual space in the real world, use the Set World Anchor function in the app.
Show App Panel
Use the Show App Panel option to specify whether the App Panel is initially visible or invisible when a unit is executed.
This setting is no longer used because the app panel is no longer existent in learning mode.
Colors
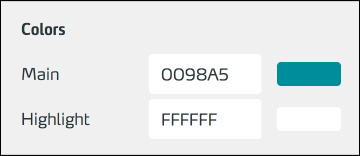
By customizing the color scheme, you can visually customize a unit (e.g. to match your corporate colors).
The Main Color is used as the main color for the hotspot balls (generic variant).
The Highlight Color is used to highlight hotspots in all variants when clicking, i.e. in active state.
To customize color, enter a hexadecimal color value or click on one of the color fields to use your browser's color picker.
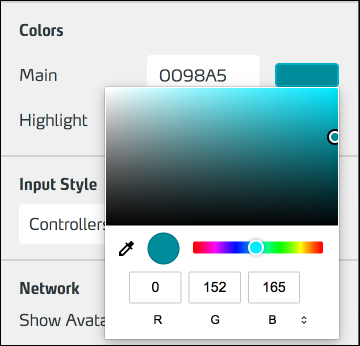
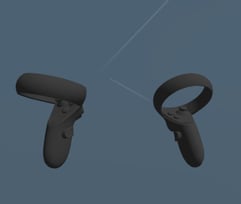
Input Style
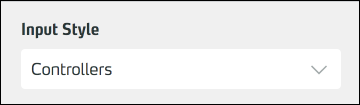
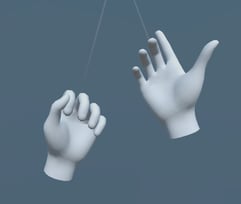
Use the dropdown to select whether the VR headset's controllers should be displayed in the unit or whether hands should be displayed instead.

Of course, this setting has no effect on AR units, in which the natural hands are always visible.
Network
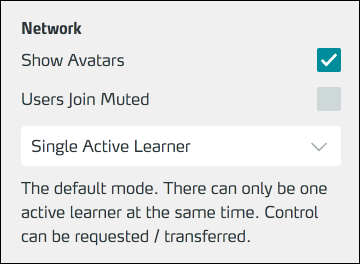
The Network settings specify how users experience the Learn Together mode:
The Show Avatars option determines whether users are displayed as avatars. For example, disable this option for an AR Unit where the participants are in the same physical room.
Participants appear in blue color, and the one user in control appears in green color.
![]()
![]()
The Users Join Muted option specifies whether users are initially muted when entering a network room. This can be changed during the running unit.
In the dropdown, you can choose whether only the controlling user (Single Active Learner) or everyone (Multiple Active Learners) can interact with the content when learning together.
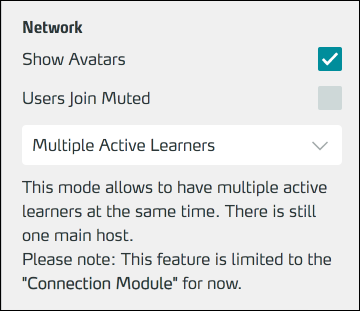
So far, this setting only affects the Connection Module.
Description
To add a description to your unit or edit it, click in the Description field.
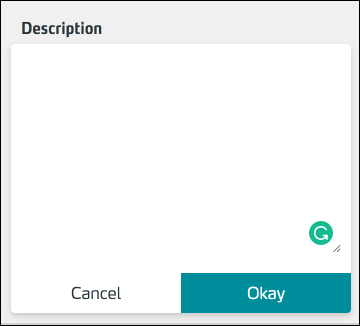
Edit the description and then confirm with Okay.
You can have the description displayed automatically in your unit using the Intro Overlay module.
Assigned for Editing
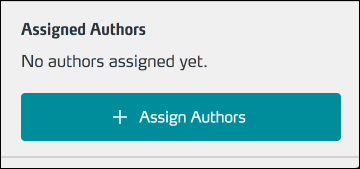
While authors and administrators can edit all units, a Limited Unit Author can only edit the units he is assigned to.
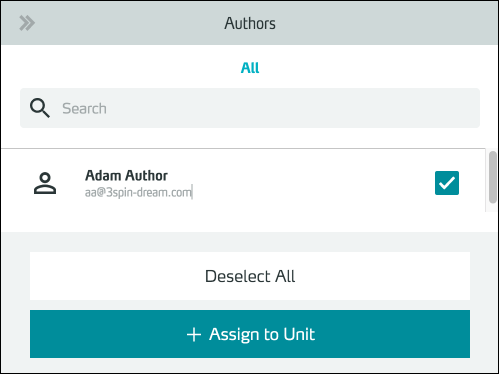
To assign, click Assign Authors and in the list, select the users to whom you want to give editing rights to this unit. Confirm the assignment with Assign to Unit.
Now you can see the assigned authors in the properties field.
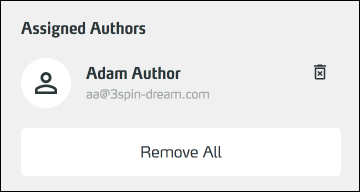
To remove an author, click the trash icon next to the author's name.
With Remove All you remove the right to edit this unit from all assigned authors.
Edit, duplicate or delete an existing unit
Highlight (by hover or mouse click) a unit in the overview.
Edit a unit
To enter edit mode, click the pencil icon or double-click the tile of the unit.
In edit mode, you can create more scenes or insert and configure learning content.
Duplicate a unit
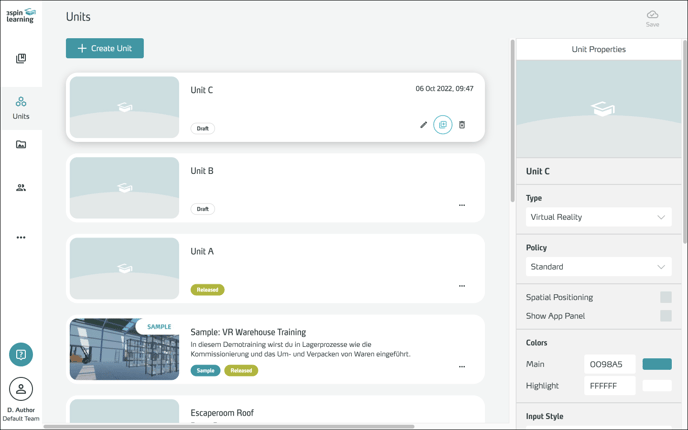
Click the duplicate icon of the desired unit.
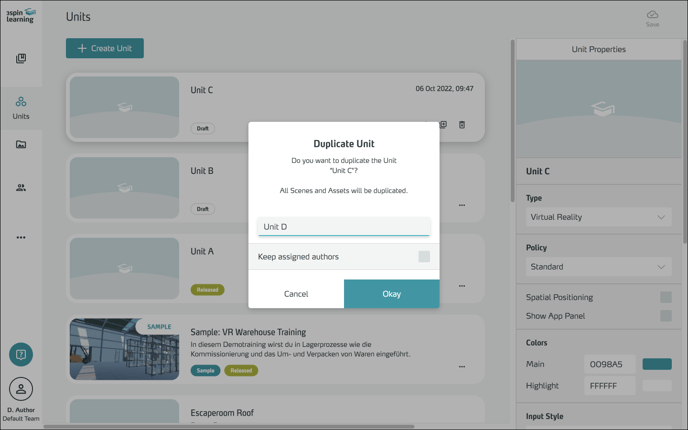
Give the duplicate a title and decide whether you want to keep the assigned unit authors. Confirm with Okay.
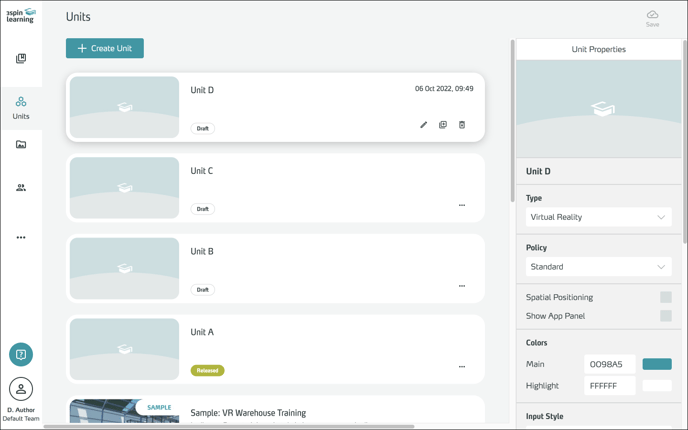
The new unit is now displayed in the unit overview.
Delete a unit
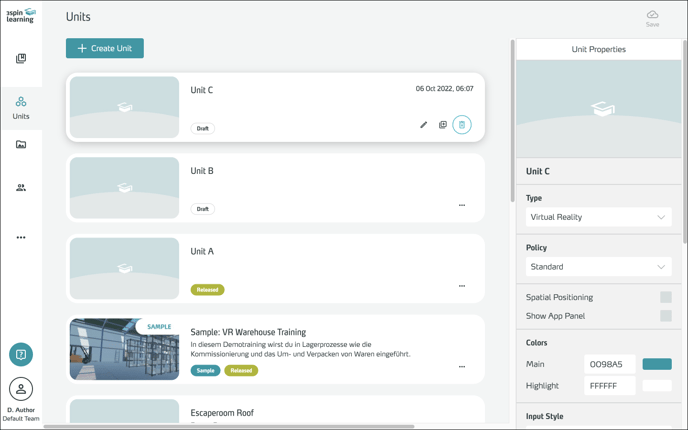
Click the trash icon of the unit you want to delete.
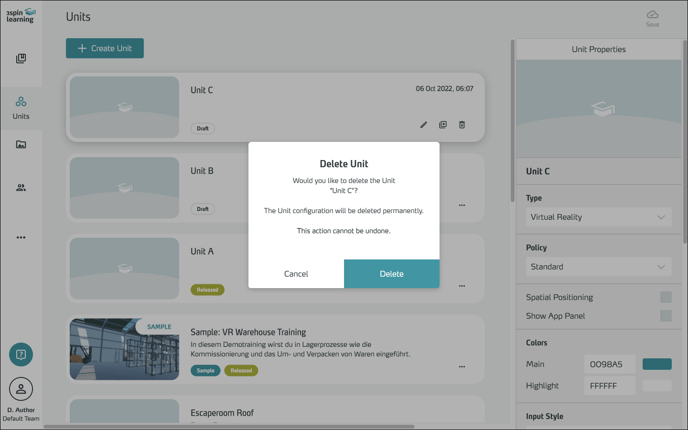
Confirm the deletion by clicking Delete.
Save a new version or revert to an old version
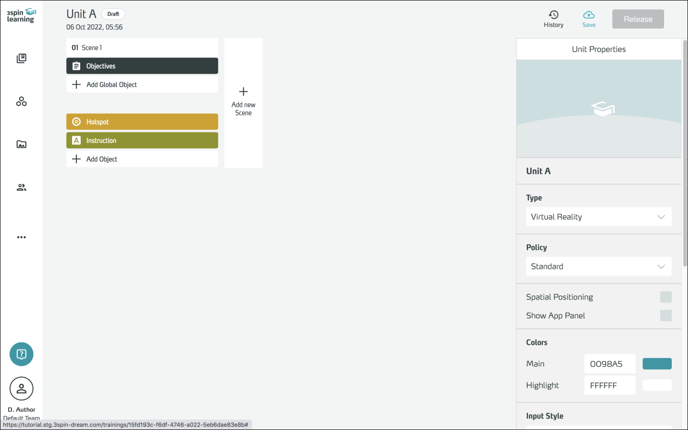
To save your changes click the Save icon at the top right.
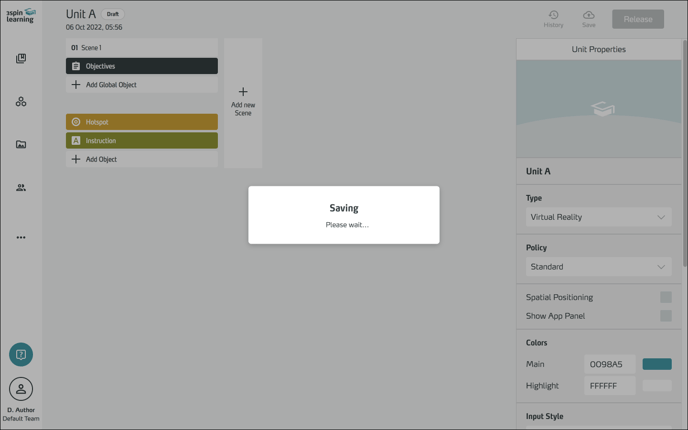
Saving adds the current version to the history.
To return to an older version, click the History icon.
In the Version History, select the version you want to return to.
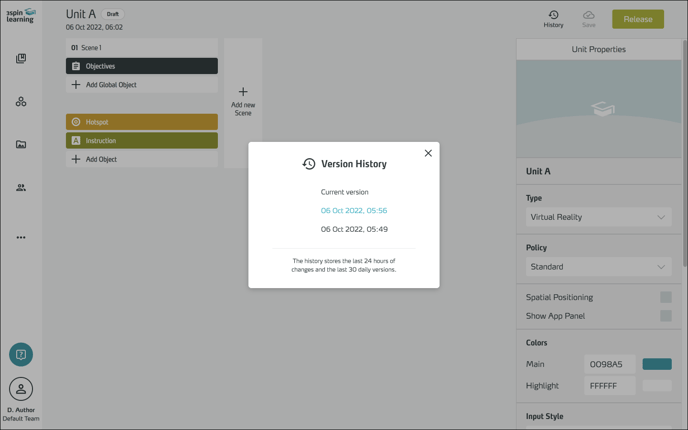
In the following dialog, select whether you want to
- want to overwrite the current version with the older one – Overwrite.
- save the older version as a new unit – Save as new Unit.

You will then be back in edit mode. The label next to the title of the unit shows that this unit was reverted from the history.
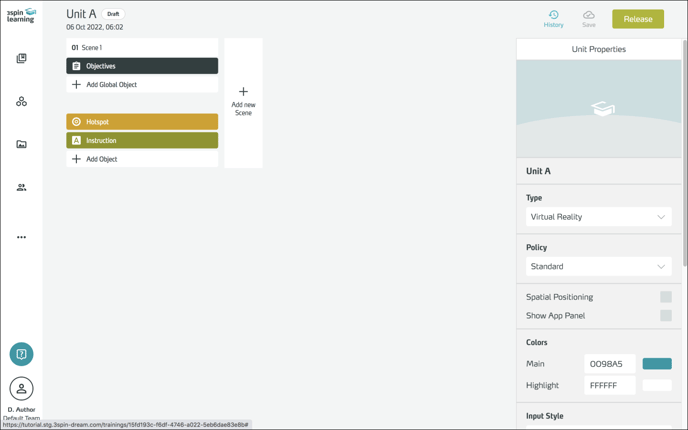
Release a unit
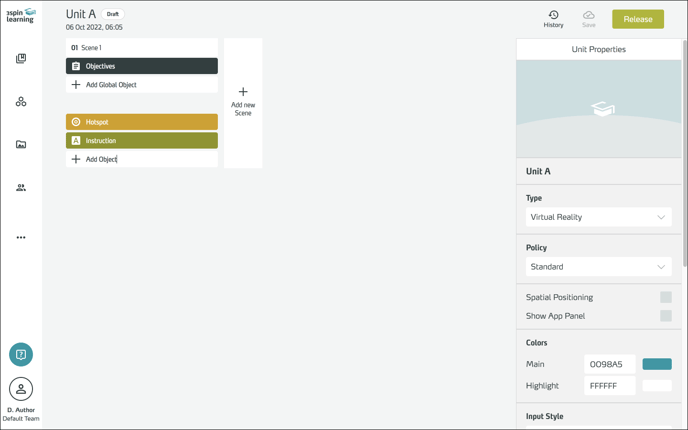
Click Release in the upper right corner to publish a unit and confirm the release in the following dialog.
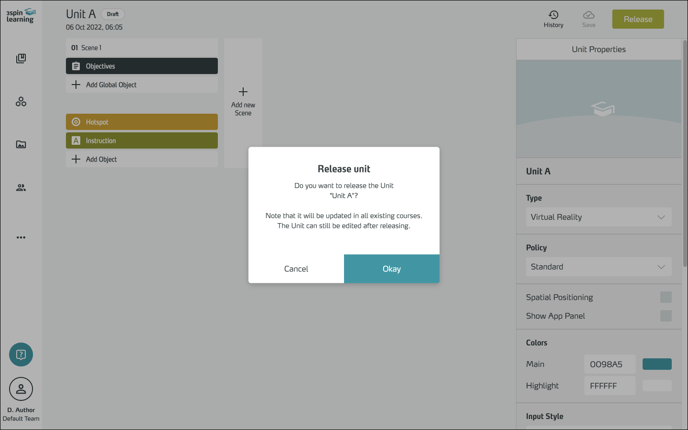
After release, the unit is available for use in courses.
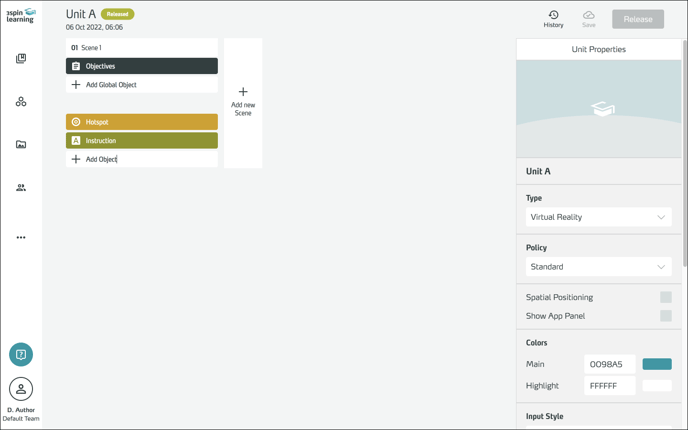
If you continue to edit the unit after publication, the status of the last publication will be retained in the courses (cf. above: The Draft System).