Working With Scenes
A scene is the main component of a training, it divides the training into different sections and contains the training objects.
Basics
A scene is the main component of a training, it divides the training into different sections and contains the training objects.
When you edit a Training, you see an overview of the Scenes contained in the Training in the main panel.
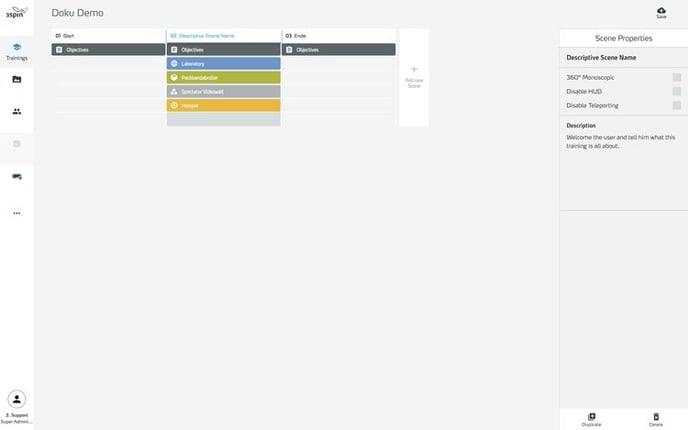
With the help of scenes, you can divide your training into different sections that you can combine into a sequence. You can also easily create branching sequences in 3spin Learning and thus implement complex storytelling in a course. You can create up to 99 scenes in a course.
The individual scenes appear in the form of a scene column.
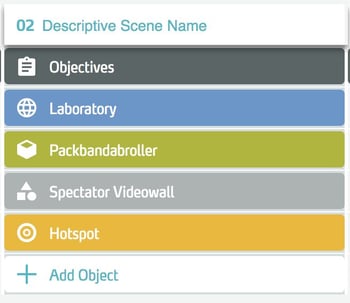
The scene column consists of the following elements:
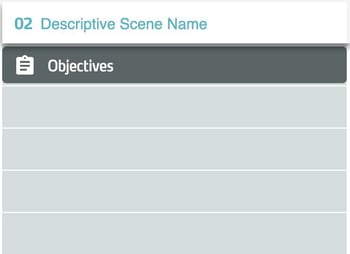
- Name of the Scene
- Objectives button, which displays the set Training objectives of this Scene in the side panel
- All objects that are already added to the Scene
- The Add Object button, which allows you to add more objects to the Scene
Working with scenes
The following functions are available when working with scenes
Select a scene
Click in the name of the scene at the top of the scene list. You can see from the colored scene name that the scene is selected.
Editing properties of a scene
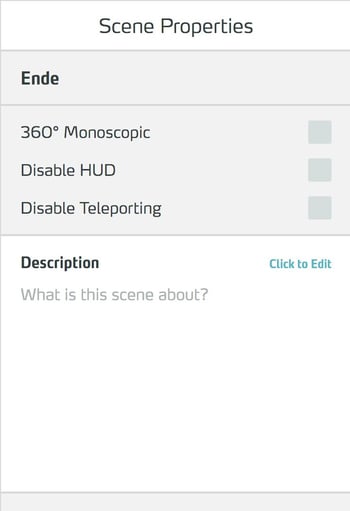
After selecting a scene, its properties appear in the side panel.

There you can
- Edit the name of the scene
- For 360° scenes, be sure to activate the 360 Monoscopic checkbox. Without this setting, 360° scenes will be displayed incorrectly in glasses with stereoscopic display.
- Use the Disable HUD checkbox to prevent the app panel from being displayed when you run the scene in the app.
- The Disable Teleporting checkbox turns off teleporting for this scene; recommended for 360° scenes or small 3D environments
- Edit the description of the scene
Editing the name of a scene
Click on the name field in the side panel of the selected scene.

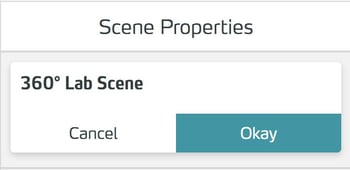
Enter a new name for the Scene and confirm with Okay.
Editing the description of a Scene
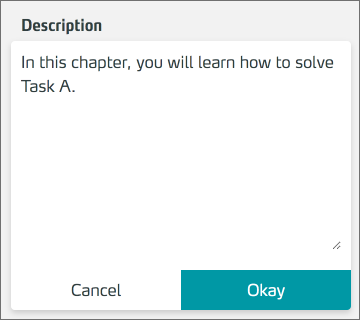
In the side panel of the selected scene, click in the Description field.
Enter a description for the scene and confirm with Okay.
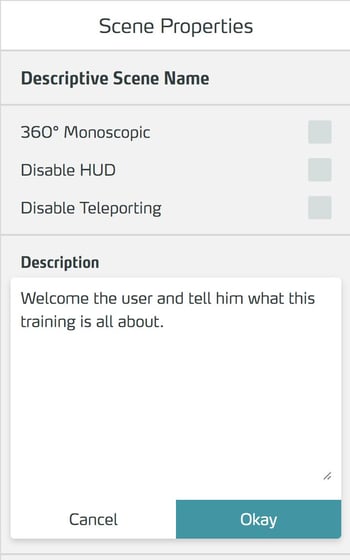
You can easily display the descriptions of a Scene using the Intro Overlay Widget in the Training.
Add a new Scene
In the scene overview, click the Add New Scene button to the right of the last Scene.
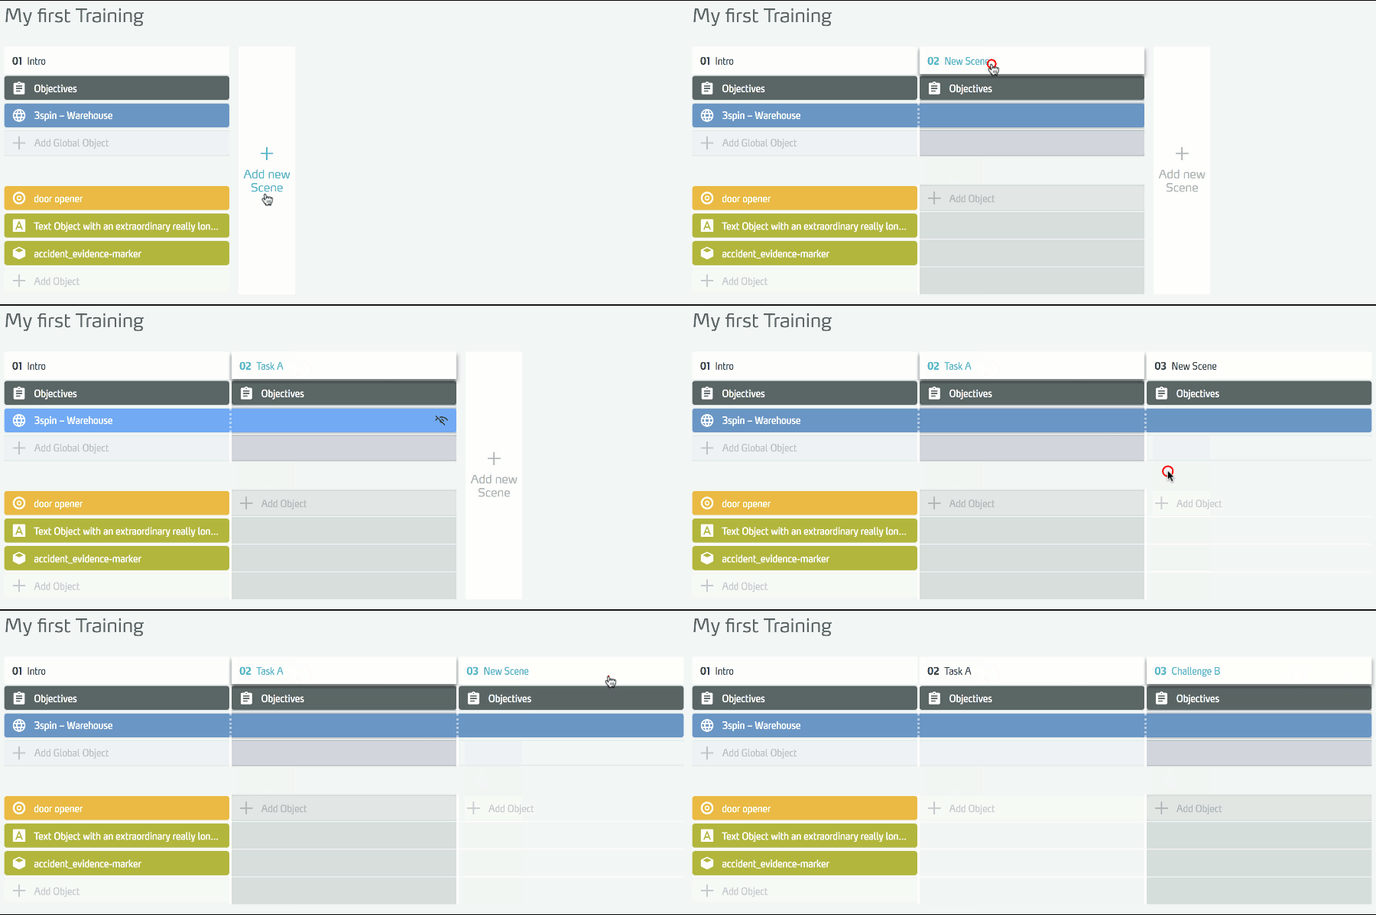
The new Scene is added to the training as the last Scene.
Duplicate an existing Scene
First, select the scene in question by clicking on its name. You can see from the coloured scene name that the scene is selected.
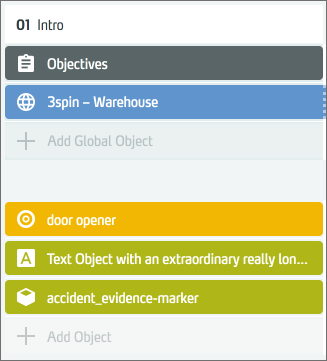
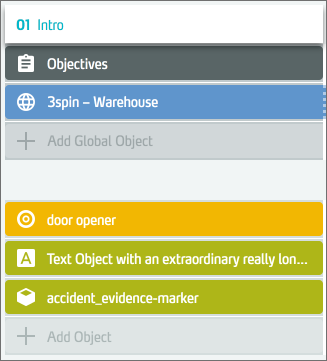
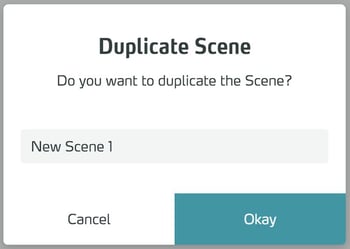
With the Scene selected, press the Duplicate Scene button in the Side Panel.

In the subsequent dialog, enter a name for the new Scene and confirm with Okay. The duplicated Scene is added to the training as the last Scene.
Deleting an existing scene
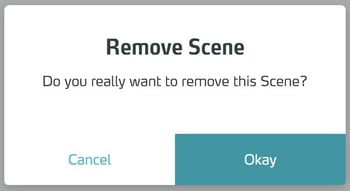
With the scene selected, click the Delete button at the bottom of the side panel.

Confirm the deletion in the subsequent dialog with Okay.
Changing the order of the Scenes
You can move a scene in the scene overview by clicking in the scene name and moving the scene to its new position while holding down the mouse button.

Configure the properties of a scene
After selecting a scene, its properties appear in the side panel. The following configuration options are available:
Edit the name of a scene
Click the name field in the side panel of the selected scene.

Enter a new name for the scene...

...and confirm with Okay.
Set monoscopy
For 360° scenes in VR training courses, you should definitely activate the 360 Monoscopic checkbox. Without this setting, 360° scenes are displayed incorrectly in glasses with a stereoscopic display.

For pure 360° training courses, this setting is set automatically. And for AR training, of course, it is irrelevant.
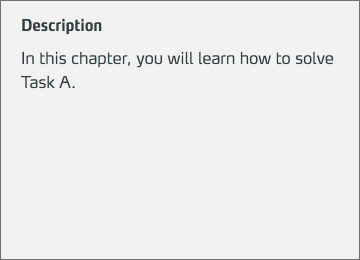
Edit description of a scene
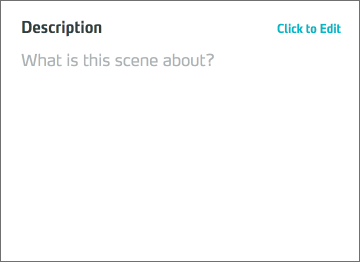
Enter a description for the scene and confirm with Okay.
