Helper Companion
The Helper Companion is a module that adds a virtual companion to a training for user guidance.
Basics
Introduction / Feature Overview

The Helper Companion is a friendly, hovering robot that can interact with users through various mechanics. This opens up highly immersive and innovative user guidance possibilities for your trainings.
The Helper Companion can appear at any location (→ waypoints). It can provide visual feedback through facial expressions (→ Show Expression) or changes in color (→ Change Glow), as well as giving hints and instructions on an auditory level using the Speak function.
In addition, you can configure complex action stacks as reactions. You can then invoke these reactions from any trigger of any object (→ Invoke Reaction), i.e. the Helper Companion can react to everything a user does and everything that happens in a training.
Furthermore, you can even assign these reactions to individual training objectives. For example, when a user clicks on the Helper, they will always receive a hint about the next goal that has not yet been achieved.
Together with the possibility to create nested action batches via Cue and Invoke Trigger, and then to process them in various ways via Execution Mode, there are endless ways to support your users and make your trainings more lively.
The psychological aspect of the Helper Companion should not be underestimated either: Through its personified appearance and the many interaction possibilities, it reinforces the immersion (and thus the learning success) and prevents - especially in virtual reality - the possible feeling of loneliness.
In addition, you can brand the Helper to match your company, for example by uploading your logo or adjusting the preset color of its aura to your corporate colors.
Mimic: Helper Companion Expressions
Helper Companion has a set of animated mimic expressions that you can use to provide nonverbal feedback to your users.
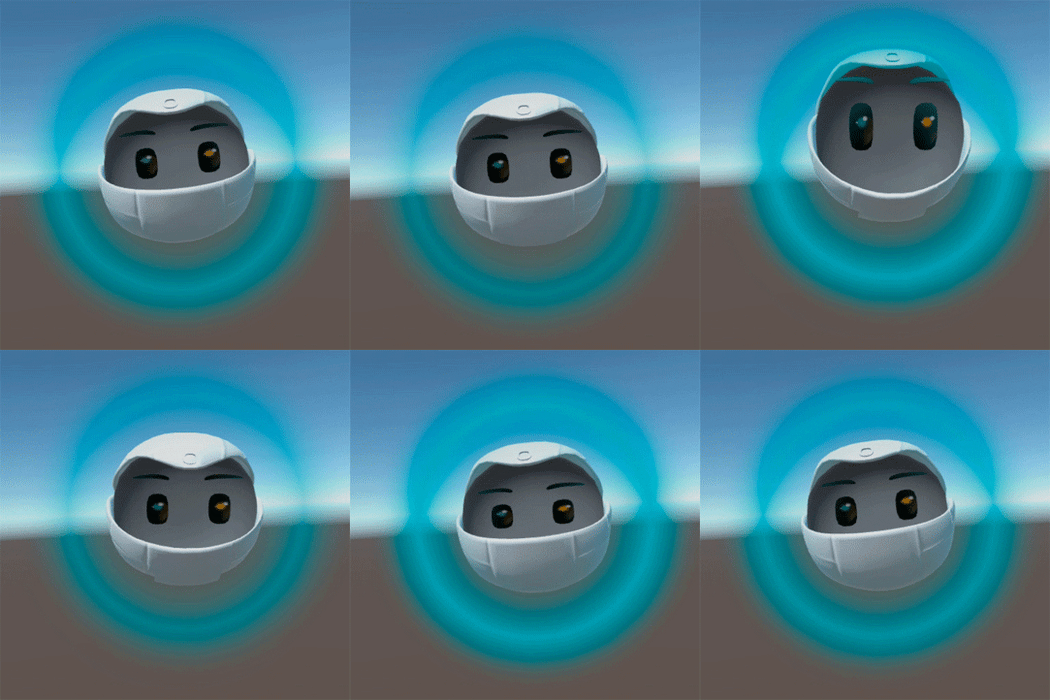
You can directly control these with the action Show Expression from any trigger. However, you can of course also use this action in the → Reactions action stacks to configure complex behavior.
The following expressions are available:
- Blinking
- Disappointed
- Frightened
- Happy
- Neutral
- Nodding
- Pointing Down
- Pointing Left
- Pointing Right
- Pointing Up
- Snooze
- Surprised
- Very Happy
- Waiting
Working with the Helper Companion
Adding and removing the Helper Companion module
Adding to a training
Open the Objects Hover panel by clicking + Add Global Object in the global area of a scene column.
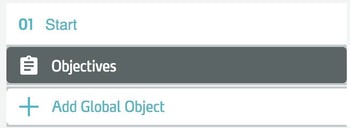
The hover panel appears on the right edge of the window in front of the side panel.
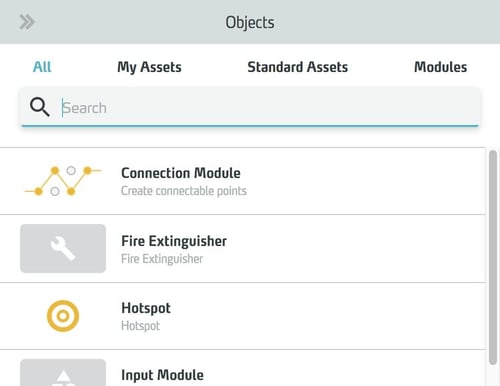
Click Modules in the category bar.

The element list is reduced to the supplied modules.
To search the item list, type the desired term or part of it in the search field.

The list is filtered to items whose name or description contains the search text you entered.
Click on the Helper Companion module in the list to insert it into the training.

Deleting the object from a scene
Select the object in the scene column. Its properties appear in the side panel on the right. Click the Remove button at the bottom to remove the object.

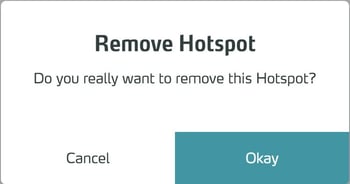
Confirm the deletion in the following dialog box.
Configuration of the Helper Companion
Personalization of the Helper Companion
Changing the default color of the glow
You can personalize the Helper Companion by changing the default color of its glowing aura.
To do this, use the Glow Color section in the Side Panel.

Enter the hexadecimal value of the desired color in the input field.

The color will be adopted immediately and displayed in the color field next to the input field.

Adding a logo / image
You can personalize the Helper Companion with a logo (or other pixel graphic). To do this, click the Add image button in the Logo Image section of the side panel.

The objects hover panel opens.

Select an image asset there. The image must have the aspect ratio 1:1 and should be at least 256x256px.
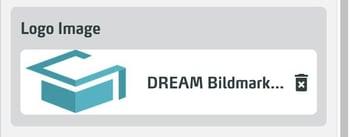
It is inserted into a square area at the front of the Helper (at the level of the mouth).

Configuring reactions as action stacks
In addition to the direct expression options of the Helper Companion (e.g. the actions Change Glow, Show Expression), you can also configure more complex behavior - Reactions.
Reactions are stacks of actions (cf. Trigger Cue) that you can name freely and to which you can add any actions.
These reactions can be triggered manually with the Invoke Reaction action or assigned to a training target as a cue (see below).
Add a reaction
Click the Add Reaction button in the Side Panel (with the Helper selected).

Name the reaction by typing a name into the input field.

Choose names that are as meaningful as possible, because the reaction will be referenced later using this name.

Filling a reaction with actions
Expand the action stack of the reaction by clicking on the triangle icon.

Confirm the deletion in the following dialog by clicking on the checkmark.

Controlling the Helper with Waypoints
The positioning of the Helper in trainings is realized via Waypoints.
Waypoints are coordinate points in the virtual 3D space where the Helper Companion can appear - and which you can define yourself.
There are local and global waypoints. Global waypoints are valid in every scene throughout the whole training, local waypoints only in one scene.
To set the Helper Companion to a waypoint, use the action Appear at Position
Set Waypoints
You can set any waypoints for your workouts. To do this, use the 3spin Learning app in authoring mode (Edit Training).
In the App Panel, locate the Helper Companion module.
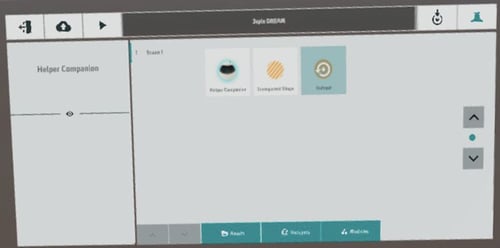
Click it - the waypoint panel will appear.
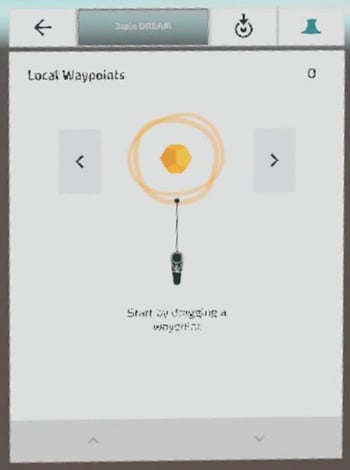
Here you can choose whether you want to set local (orange) or global (blue-green) waypoints.
To place a waypoint, point the pointer at the waypoint icon in the center of the panel. Drag the appearing 3D waypoint out of the panel with the trigger and place it as desired.
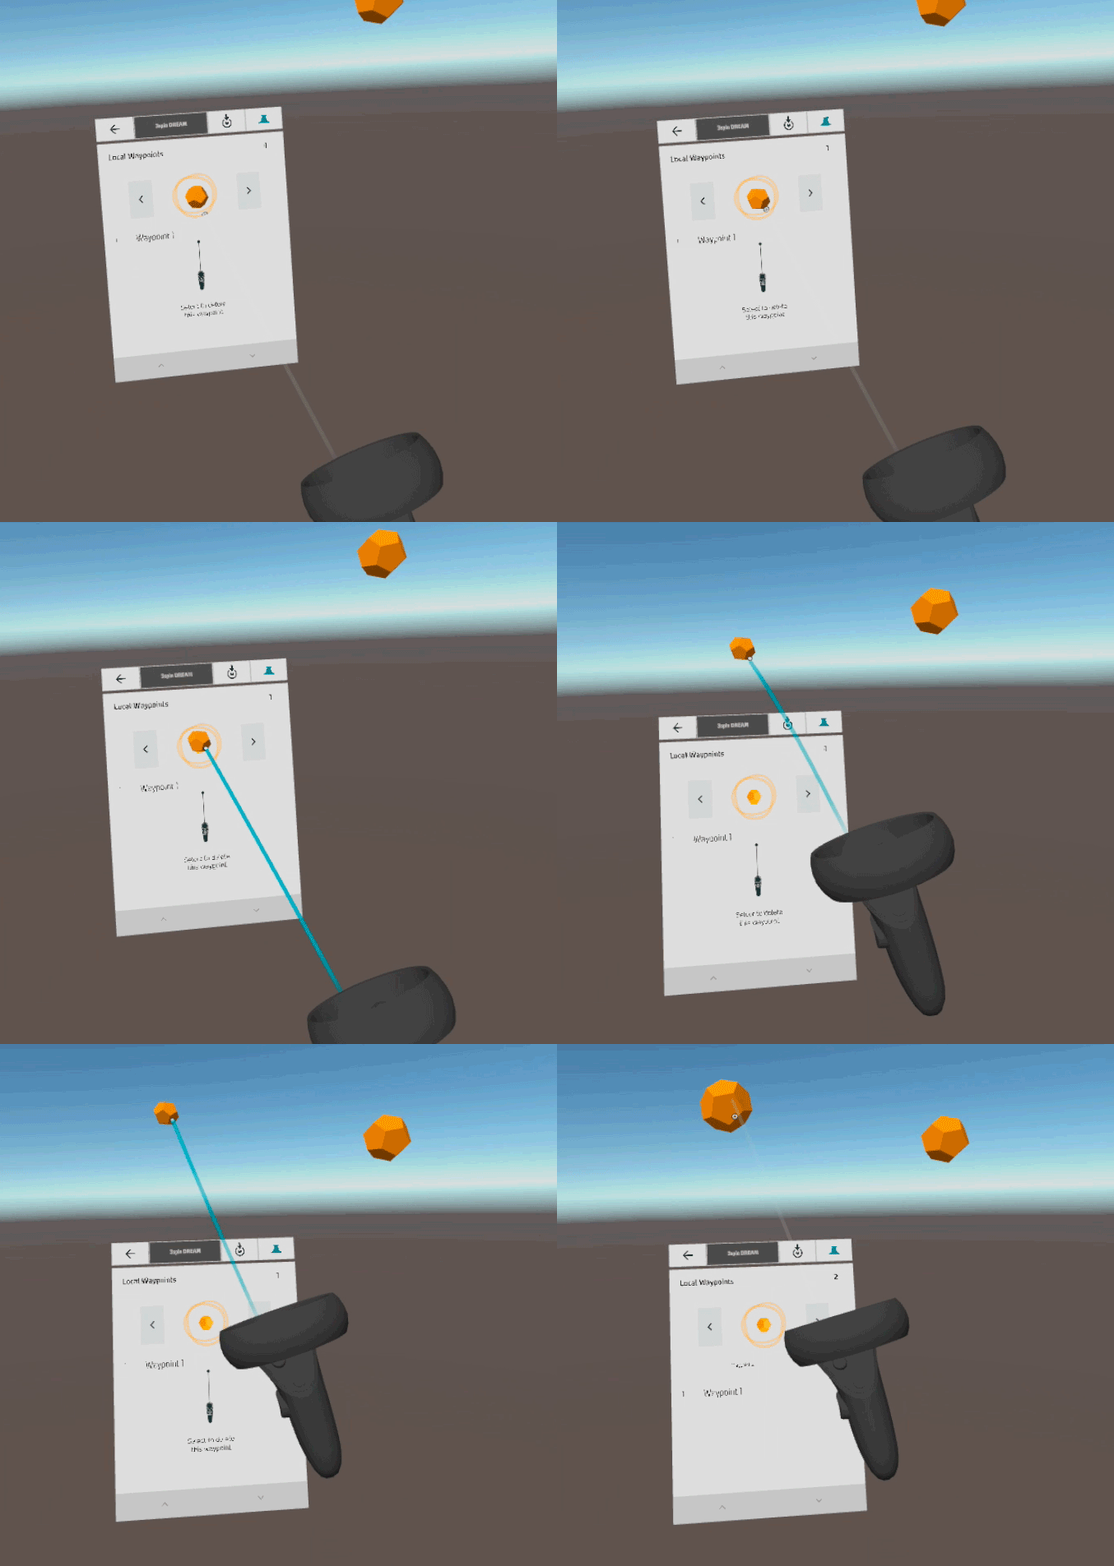
Once the waypoint is placed in the virtual space, you can move it to a new position at any time.
All placed waypoints appear in a list directly in the panel.
Deleting waypoints
If you want to delete an already created waypoint, proceed as follows:
Select the waypoint in the list.
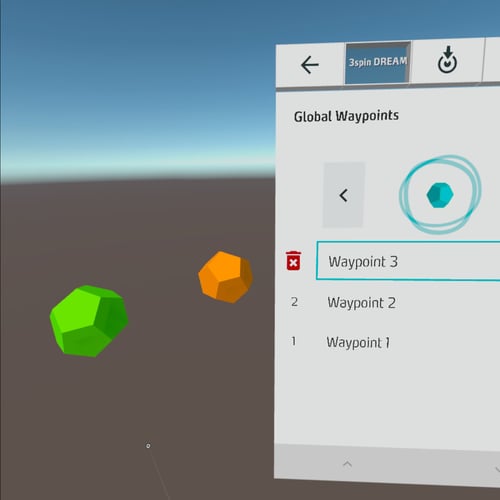
The waypoint is highlighted in the list and a trash icon appears. For alignment, the corresponding waypoint in the room is colored green.
Click on the trash can icon when the waypoint is selected.
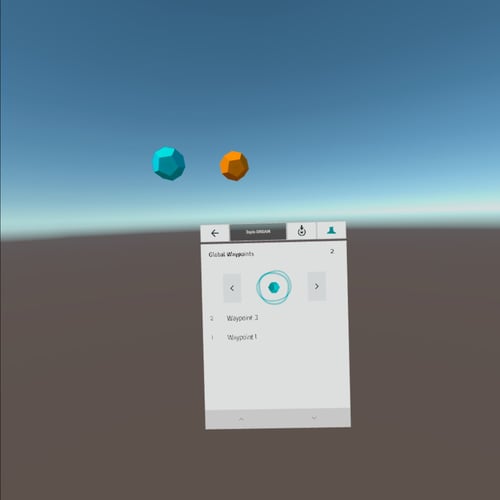
The waypoint is removed.
Manage waypoints in the WMS
After you have placed waypoints in the app and saved the workout, the waypoints are also available in the WMS.
You can find them in the side panel of the Helper Companion after selecting it in the global area of your training.
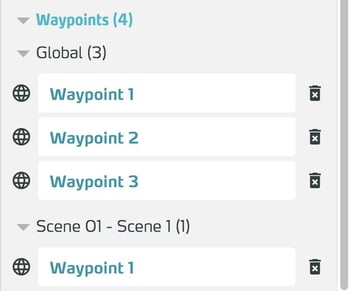
There you can also rename the points or - by clicking on the trash icon - delete them.
Use reactions as hints for training targets
To use the hint system, you should be familiar with the concept of Objectives (training goals).
The Helper Companion provides a system that allows users to intuitively receive hints on how to achieve training goals when they click on the Helper.
The system does this by using the previously configured responses. In the Hint Assignment section of the Side Panel, you can assign a hint response to each training goal.
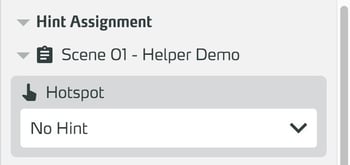
To do this, select a reaction in the dropdown of an Objective.
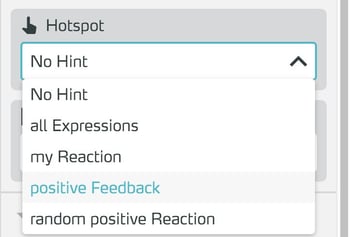
Now, when clicked by a Learner, the Helper will show that response as a hint for the training objective.
Note that triggering hints also depends on whether you have specified (for Objectives at the top of a scene column) a linear order for the objectives or not.
With linear order, the hint to the next unfinished objective is always triggered - so make sure your objectives are in the correct order.
With free order, the helper will pick the spatially closest target - that is, the training object with the trigger marked as Objective that is closest to the user.
By the way, you can also assign a hint for the situation when all the goals of a scene have already been achieved. Use this option, for example, to tell a user that he is done in this scene and should move on to the next one ("You are done here, go to ...").
Tutorial: Reaction with random expressions
A small best practice example of how you can make a training more lively with the Helper:
You want to give your Learner positive or negative feedback, but not always the same.
Create a Reaction with all positive expressions and set the execution mode to Randomly, only one.
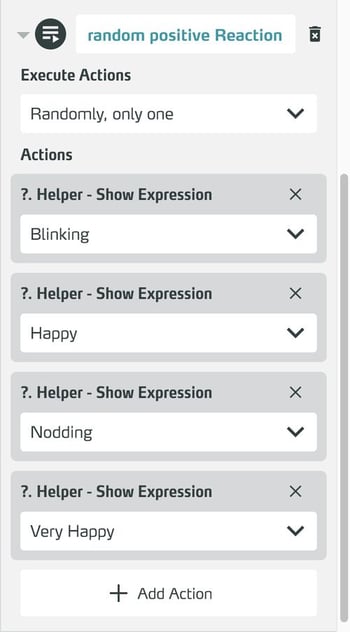
Create another Reaction that contains the feedback function and triggers the random reaction via Invoke Reaction.
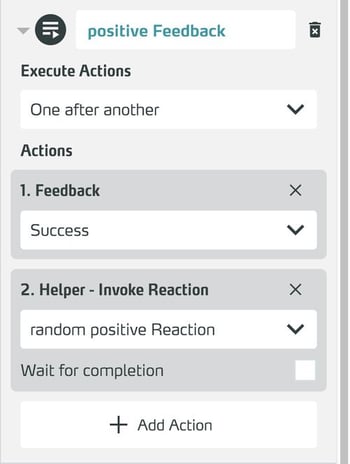
You can now call this reaction again via Invoke Reaction from any trigger. This way the user gets lively - because always different - feedback when triggering the trigger with only one function call.
Actions to control the Helper Companion module
Actions for the Helper Companion
- Appear at Position: Appear at Position is an action that makes the Helper Companion appear at a previously created waypoint.
- Change Glow: Change Glow is an action that temporarily changes the color of the aura of the Helper Companion.
- Invoke Reaction: Invoke Reaction is an action that triggers a previously defined reaction of the Helper Companion.
- Show Expression: Show Expression is an action that makes the Helper Companion show a mimic expression.
- Speak: Speak is an action that lets the Helper Companion play an audio asset.