Basics
Use the Connection Module for trainings in which correct connections are trained in the broadest sense.
Scenarios for connections can be e.g.
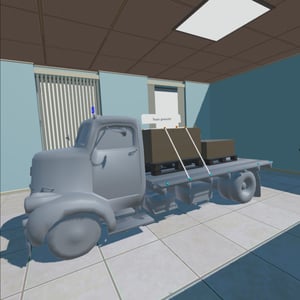
- Ropes, belts, straps: lashing, load securing
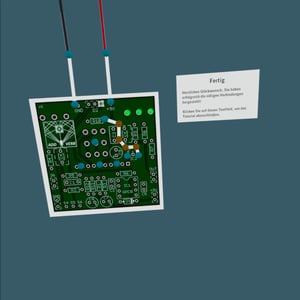
- Cables, strands, wires: cabling, conductive connections, circuit boards
- Paths, routes: Finding the shortest path
- Semantic connections: What belongs to what, organization charts, visual quizzes
Function of the Connection Module
The Connection Module first requires one or more assets (connectables) on which connections are to be trained. You assign these in the WMS after you have inserted the module into a training.
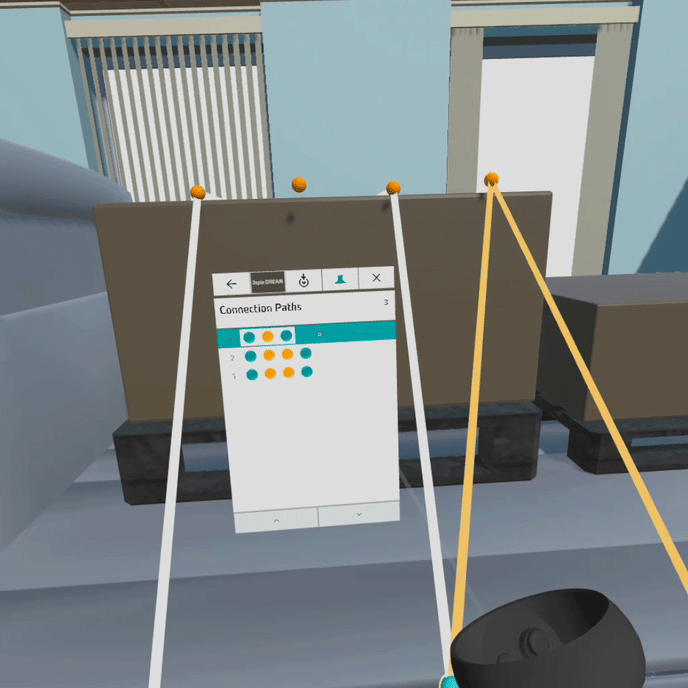
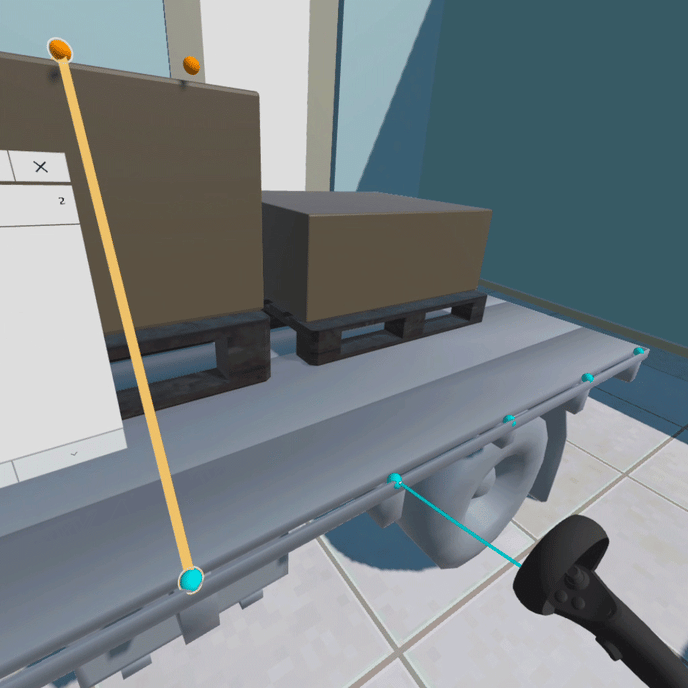
Furthermore, the correct connections (solution paths) must of course be defined. For this purpose, you can place points in space at a connectable in the edit mode of the 3spin Learning app. At the end of the configuration, all solution paths are created. A path always starts and ends at a start/end point (green) and can run through any number of connectable points (orange).
With the number of possible connection points you can control the complexity of the task.
In the running training all connection points appear as soon as the module is activated. A learner can then start a connection path by clicking on any start/end point. By clicking on connection points, the path is extended from point to point, and finally completed by clicking on the same or a different start/end point.
Once a path is completed, the Connection Module evaluates it by comparing it to the solution path created in Authoring. If the path matches a solution path, it briefly turns green to confirm, and then remains white. If no solution path is found for a path, the path briefly turns red and then disappears. In addition to these direct feedback functions, the module has its own triggers with which you as the author can react to all evaluation results.
Triggers of the Connection Module
These triggers described in the following are available especially for the Connection Module. The triggers are fired when the connection paths are evaluated:
- When Path Completed

This trigger is automatically created for each solution path created by the author, so you do not need to add it manually. It triggers when the path drawn by the learner matches exactly this solution path.
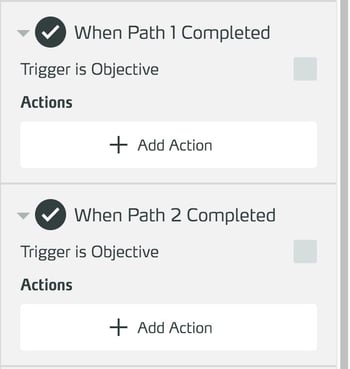
So you can use this trigger to give feedback for every single correct path, to fade in further instructions or to bring the training into a different state, e.g. Lamp now has power → Light goes on.
- When All Paths Completed

When All Paths Completed is triggered when all solution connections of this Connection Module have been traced by the learner.
Add this trigger if you want to react to the complete solution of all paths.
- When Unknown Path Completed

This trigger fires every time the learner has drawn a path that is not created as a solution path. You can add this trigger if, for example, you want to give negative feedback or hints on the correct solution.
Working with the Connection Module
Adding and removing the Connection Module
Adding a module to a scene
To search the item list, type the desired term or part of it in the search field.

The list is filtered to items whose name or description contains the search text you entered.
Click the Connection Module module in the list to insert it into the scene.

Configure objects to be connected
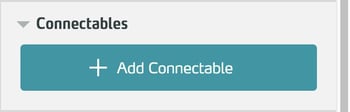
To assign objects to the Connection Module to train connections on, select the module and click Add Connectable in the side panel.
Then select an object from the list to assign it.
Currently, only 3D models can be used.
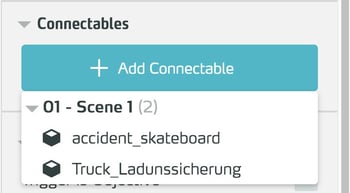
You can assign several objects one after the other.
To remove assigned objects, click the X next to the object name.
The object is immediately deleted from the list of assigned objects. Likewise, all connection points and paths configured for this object are deleted.
Connections configuration
Configuration of connection points
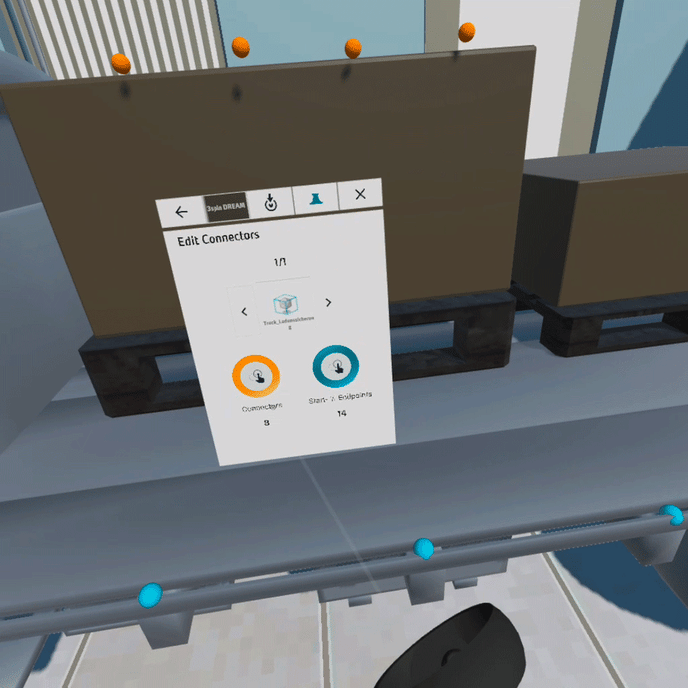
The basis of all connection paths are Connectors, which are points in space through which a connection path can pass.
To configure these connection points, use the 3spin Learning app in author mode (Edit Training) and select the Connection Module in the app panel.

Then select Connectors in the configuration menu.
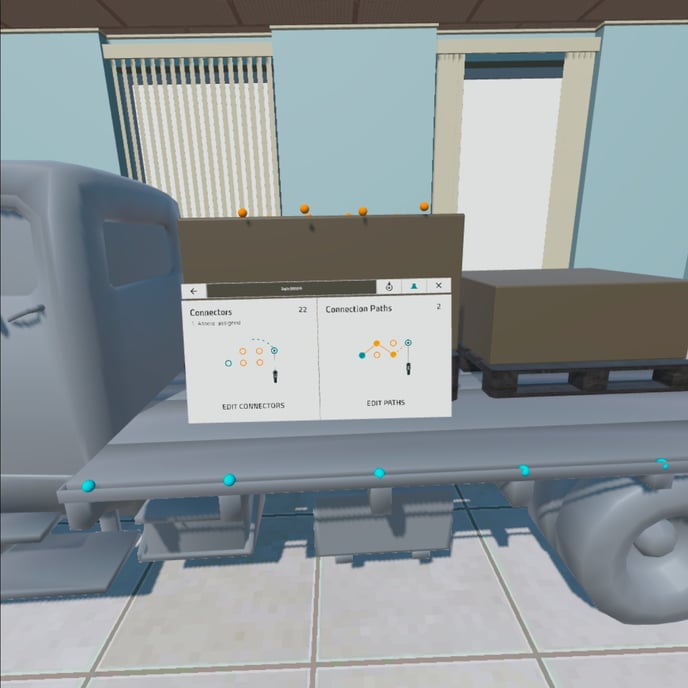
The Connector panel appears.
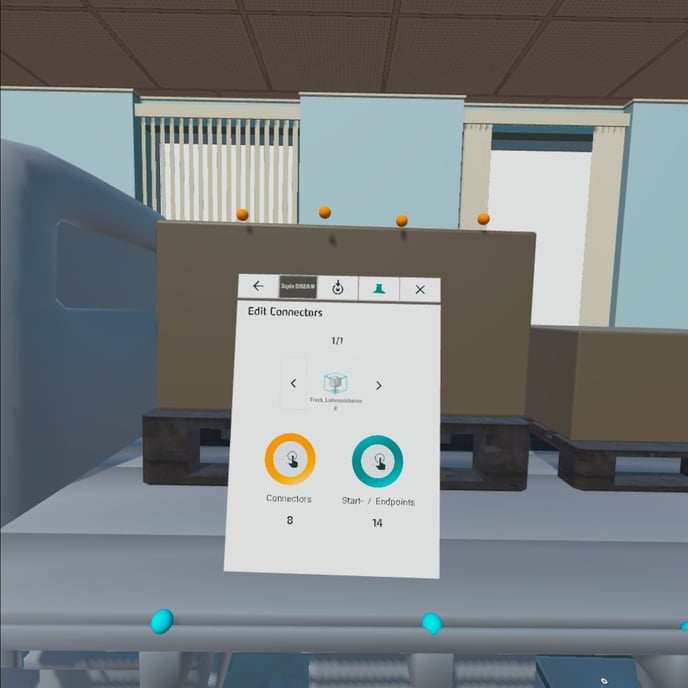
There are two types of connection points:
- Start / Endpoint (green): points where connection paths can start / end.
- Connectors (orange): points over which the connection paths can run.
Editing works the same for both types.
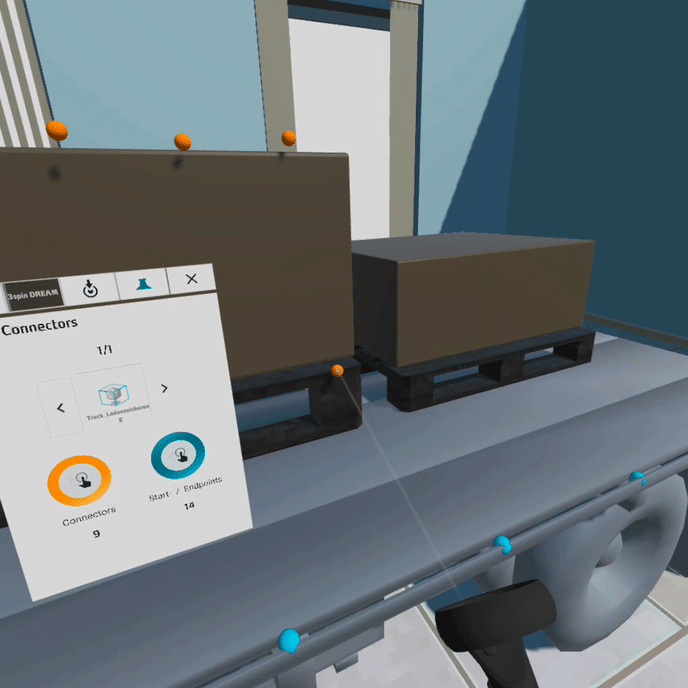
Set points
Aim at the desired type of point - a point of the corresponding type will appear in front of the panel.
Grab and drag it from the panel to place it in the desired location in space.
Delete points
Click on the point you want to delete - a menu will appear in front of the point. Click the trash icon here to delete the point.
Configure solution paths
To configure solution paths, use the 3spin Learning app in authoring mode (Edit Training) and select the Connection Module in the app panel.
Then select Connection Paths in the configuration menu.
The Connection Paths panel appears.
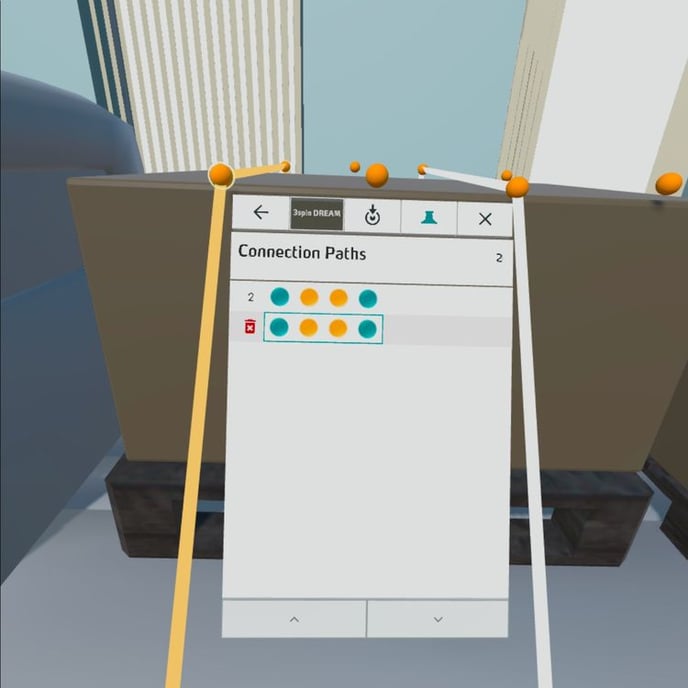
In the panel you can see all the paths that have already been created and how many connection points they run over. To identify a path, select it in the panel - the corresponding path will be highlighted in space.
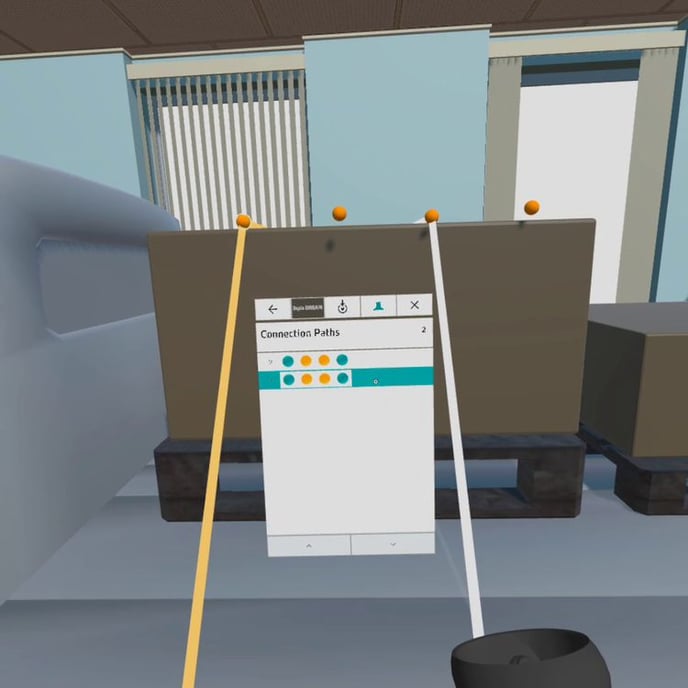
Create solution path
Start a path by clicking on a start / end point (green).
Create the path by clicking on any connection points (orange).
Close the path by clicking on a start / end point again.
You can see each step of the creation also in the Connection Paths panel.
Delete solution path
Highlight a path in the Connection Paths panel - the path will be highlighted in yellow in the room.
Click the trash icon to the left of the path - the path will be deleted.