Working with the 3spin Learning Desktop App
In this article you will learn how to use the 3spin Learning app on a Windows PC.
The 3spin Learning Desktop App provides you with three modes to choose from when you launch it.
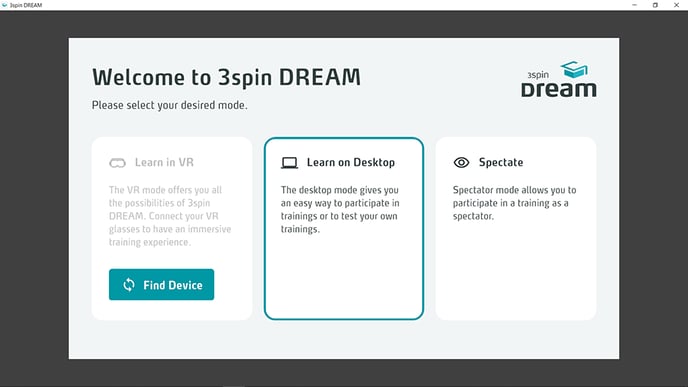
Select the desired mode by clicking on the corresponding tile.
If you haven't installed the app yet, you can find the installation instructions here.
Learn in VR
Use this mode when using a PC-based headset (e.g. HTC Vive) through Steam VR.
When a suitable headset is connected, click the Learn in VR tile to launch the app on your headset.
If a headset is only connected after the app start or it has not yet been recognized, press the Find Device button. If the search is successful, the Learn in VR tile becomes active and can now be selected as the mode.
For more information about using the app in a headset, see the following articles:
- Launch the 3spin Learning app and log in
- Synchronize and select training courses
- Navigation and interaction in a training
- (for authors) Placing objects in the virtual space
Learn on Desktop
This mode provides you with the full functionality of the app on your PC. So you can run trainings as a learner alone or together in the network. If you have an author account, you can also edit your courses on the PC.
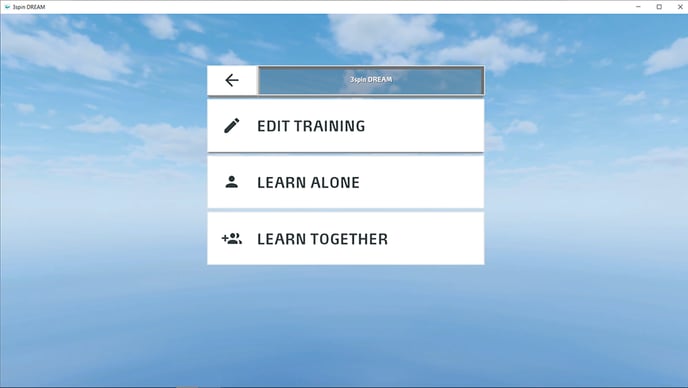
The only difference - besides the significantly lower immersion - is the operation. On the PC, you operate the app with mouse and keyboard, of course.
The following table shows how to use the app's functions on the PC.
Movement
| Function | Interaction / button |
| Look around | Click and drag with mouse |
| Walk forward | W or arrow up |
| Walk backward | S or arrow down |
| Walk sideways to the left | A or arrow left |
| Walk sideways to the right | D or arrow right |
| Teleport | Double-click with left mouse button on a free space on the floor |
Interaction
| Function | Interaction / button |
| Click objects or hotspots | Click on the object with the left mouse button |
| Grasp and move moving objects | Press the left mouse button on the object, keep it pressed and drag the mouse |
| Bring up / push away gripped object | Mouse wheel |
| Pick up a movable object | Right-click on the object |
| Drop an picked up object | Right-click on the place where you want to drop the object |
| Switch the viewing height (standing pose / lowered pose) | C |
| Switch mouse mode (Mouse / Look Around)*. | SPACE |
| Show / hide menu | CTRL |
* In Look Around mode, the mouse controls the direction of view; in Mouse mode, the mouse pointer moves on the surface of the screen. Use this mode, for example, as an author when placing objects in the scene.
Observer
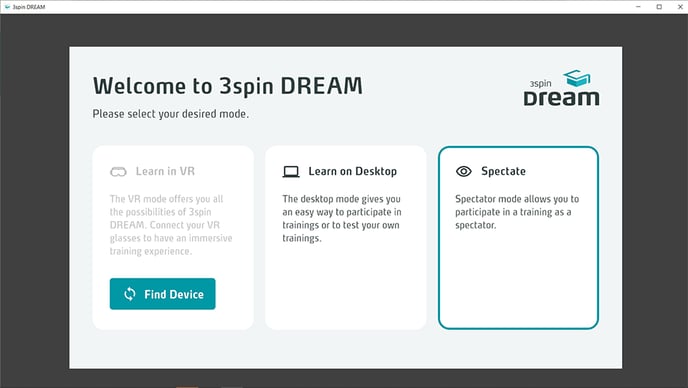
This mode is primarily designed for trainers who wish to accompany learners during their training sessions. It allows participation in a network training session as a passive observer.
The Observer Mode provides them with a view of the training from the perspective of an active user.
You can also use this mode to display a live stream from an ongoing learning session.
Joining a Learning Session as a Observer
Follow these steps to observe a training as an Observer:
-
Launch the app and click on the "Observe" tile.
-
Ensure that a network training room is started on another device in "Learn Together" mode.
-
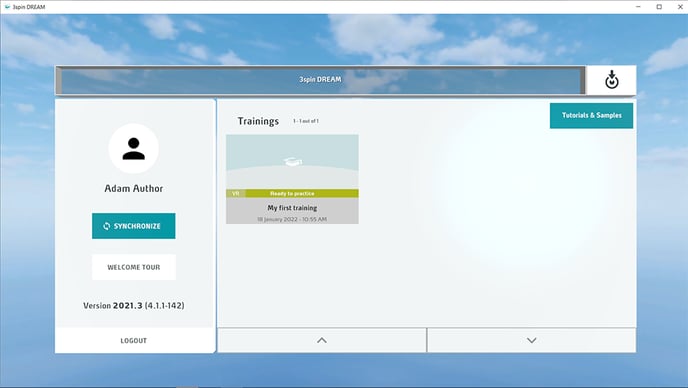
Navigate to the same unit.
-
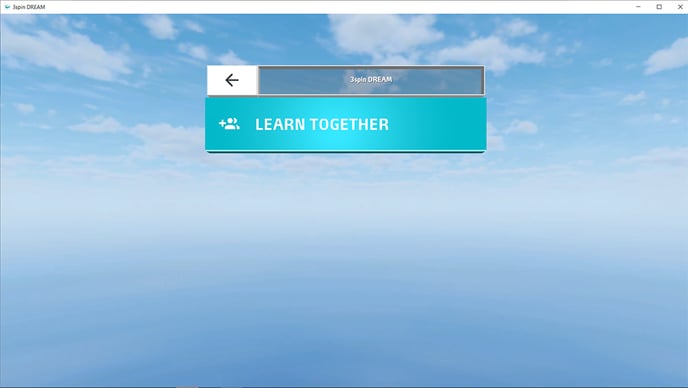
Press the "LEARN TOGETHER" button on the following screen.
-
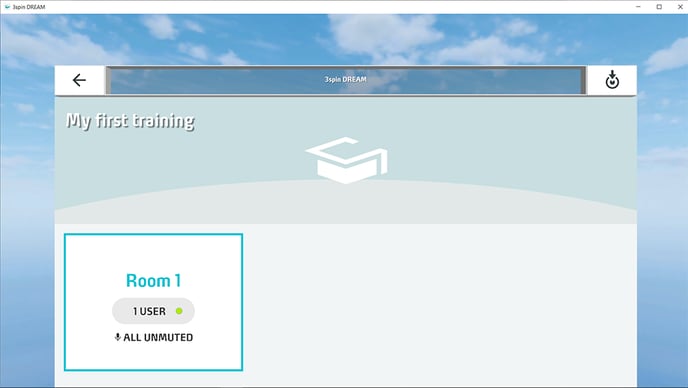
Enter the network room by clicking on the corresponding tile.
Switching Between Participant Cameras
To switch to the view of another active participant, first open the menu by pressing the CTRL key.
Click on the participant icon to view the list of participants.
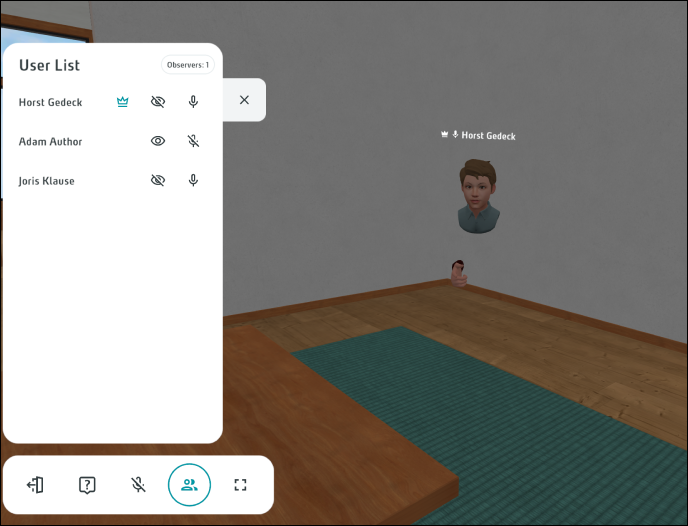
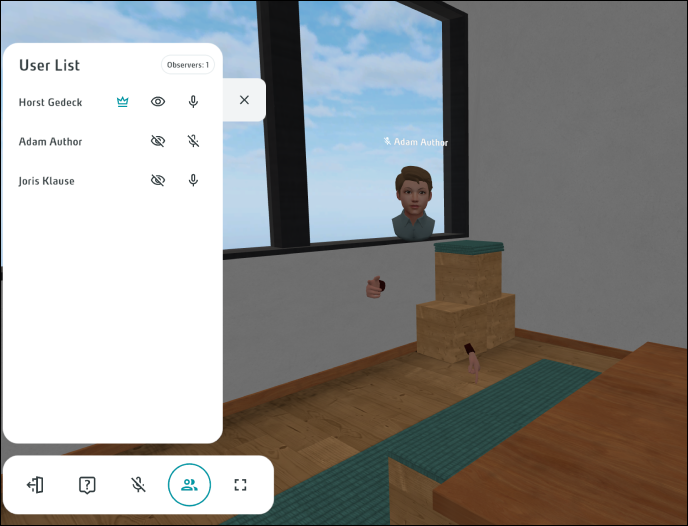
Select the user whose camera you want to see by clicking on the observation icon.
